Publish your Storybook MCP server
Storybook MCP improves generated code quality by giving agents project-specific context about your components and letting them self-correct with Storybook’s testing tools. Locally, the MCP runs via the Storybook dev server endpoint.
Chromatic manages deployments to make this MCP server accessible to your entire team and their coding agents. It also manages access control, ensuring only authorized collaborators can use your MCP server.
Why do I need to publish my Storybook MCP server?
Publishing converts your local MCP server into a remote server that your coding agents can connect to. This is especially important for teams consuming components from multiple Storybooks.
Product teams often consume components built by other teams—design systems, component libraries, microfrontends, etc. Each dependency typically has its own Storybook with an MCP server.
However, unless you’re running those Storybooks locally, your agents can’t connect to those MCP servers. Publishing makes those MCP servers available to coding agents remotely.
Setup guide
To deploy your Storybook MCP server with Chromatic, you need to use Storybook 10.3 or later and React.
1. Install the MCP addon
Run this command to install and register the Storybook MCP addon:
npx storybook add @storybook/addon-mcpWhen running Storybook’s dev server, you can now access the MCP server at: http://localhost:6006/mcp (your port may be different).
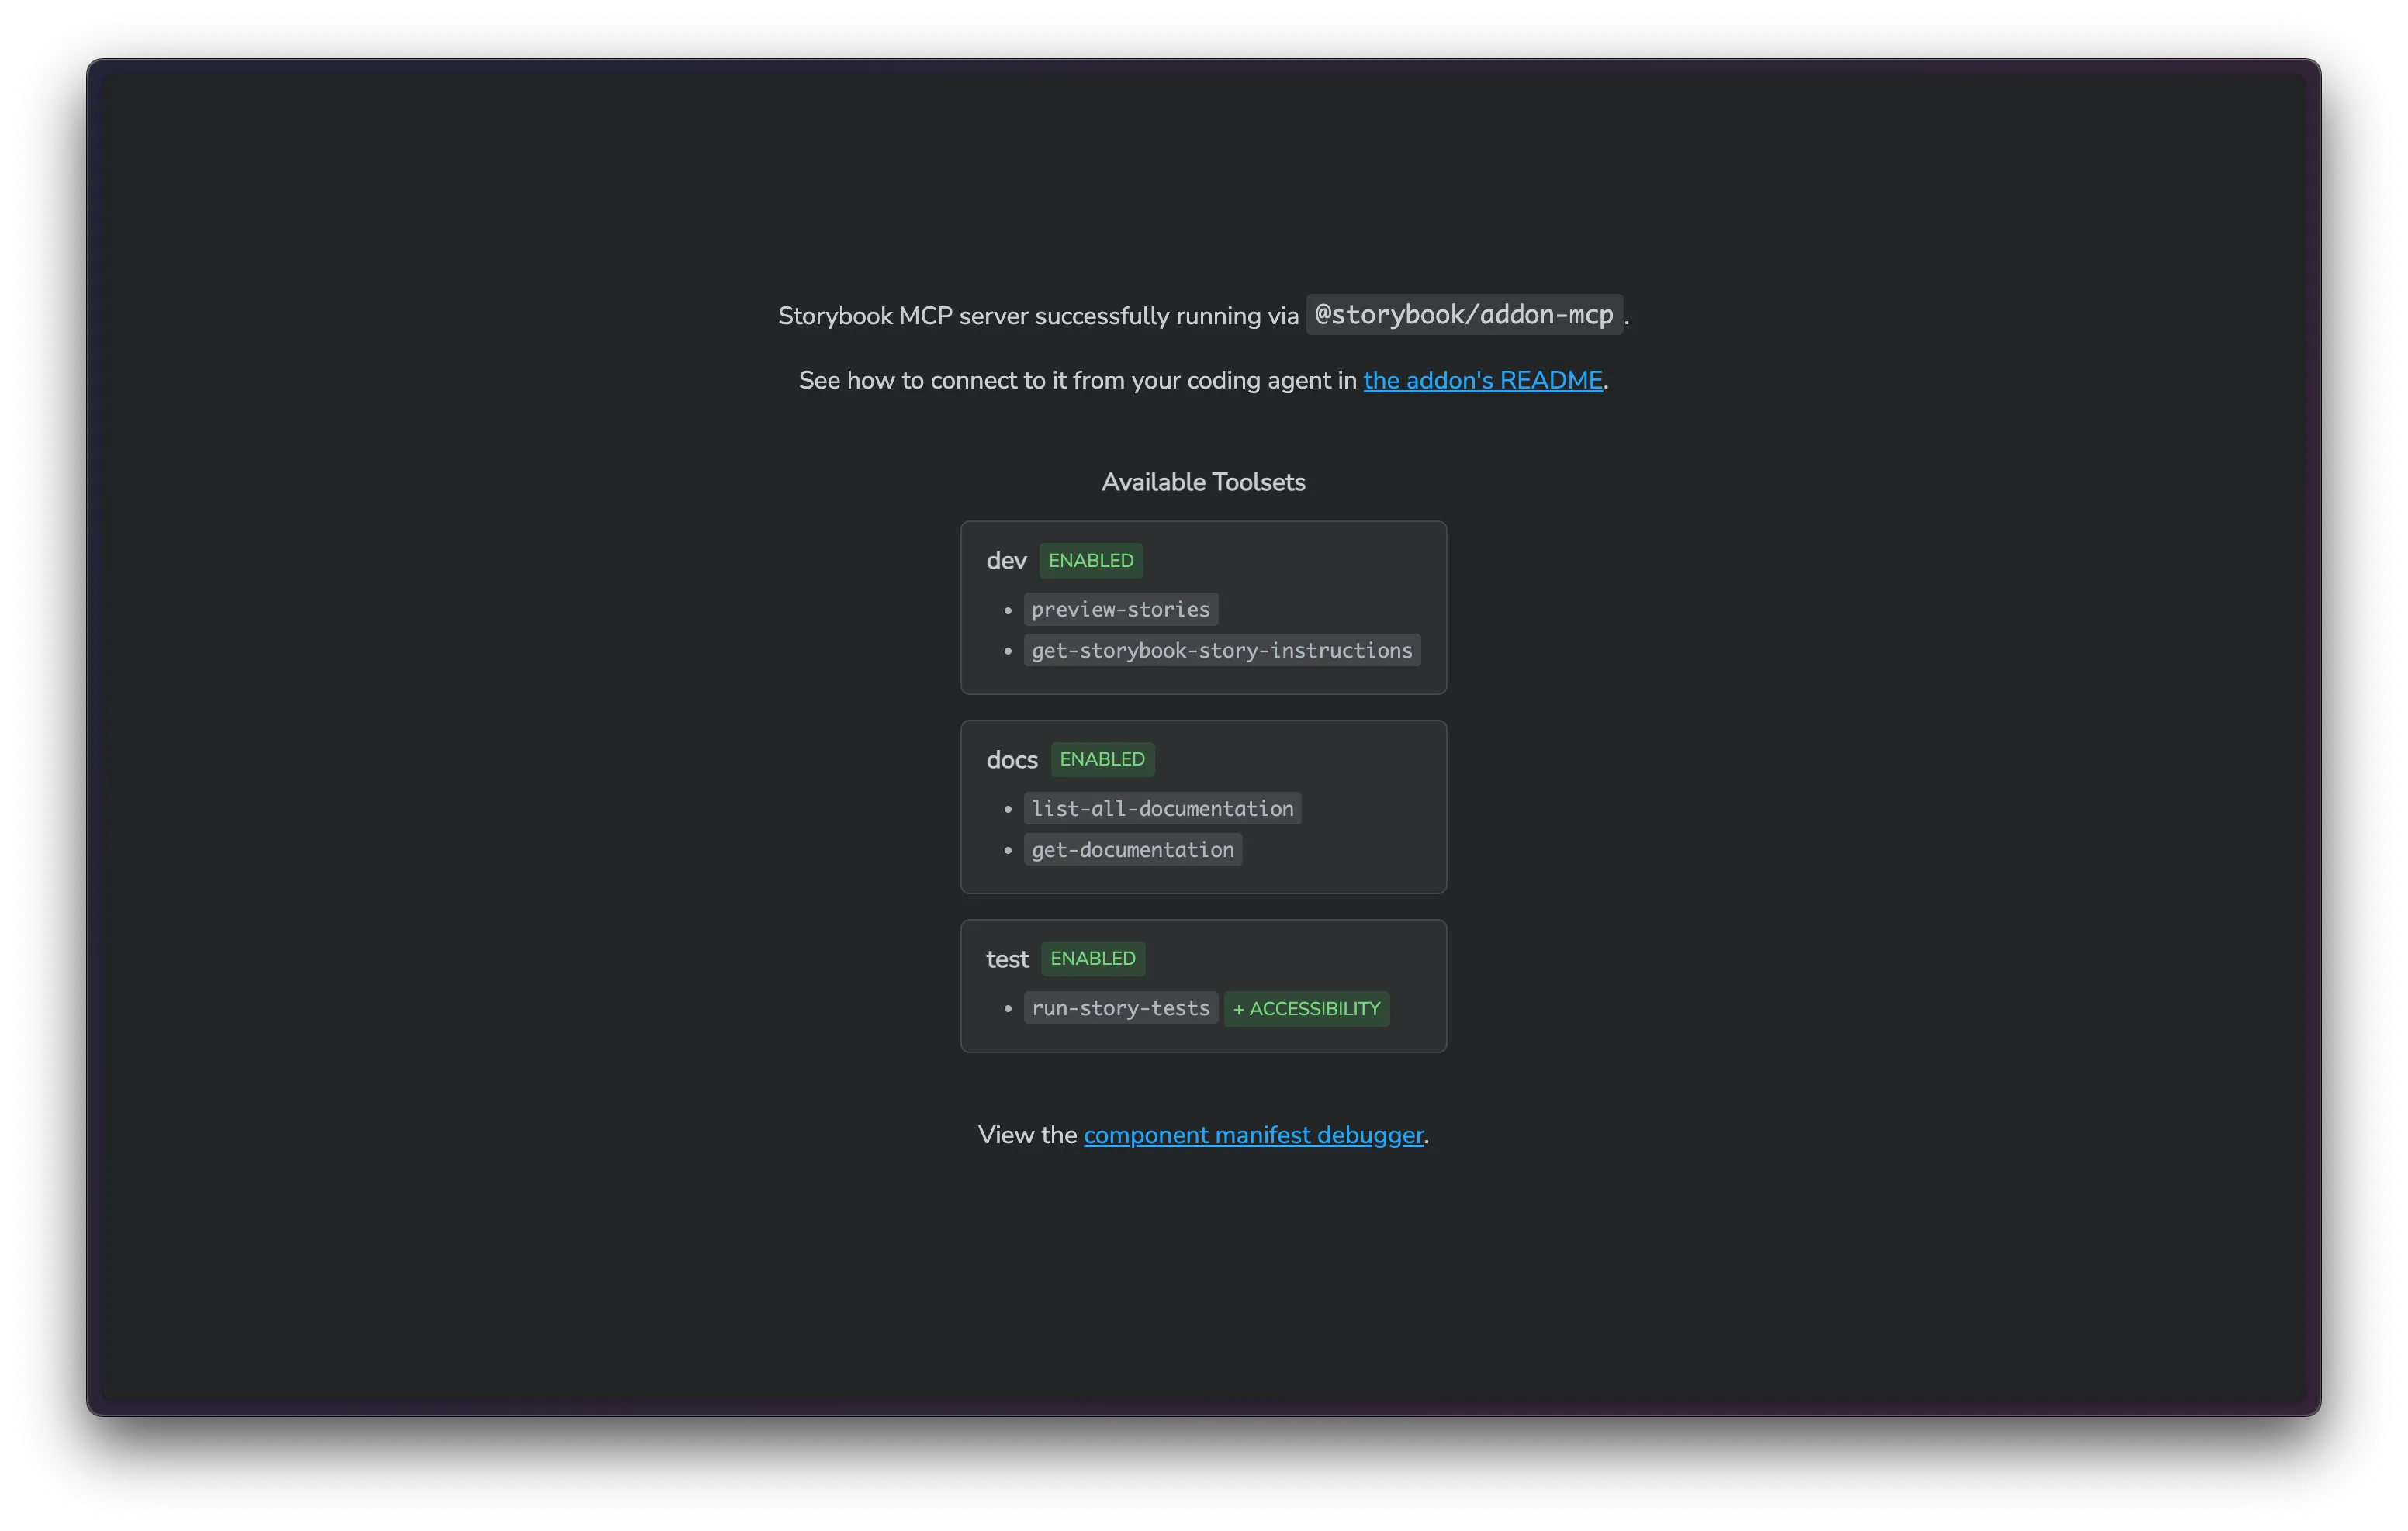
2. Run a build to publish the MCP server
Run a Chromatic build as usual, either via CI or locally, to automatically deploy your MCP server alongside your Storybook. If you don’t have a Chromatic project yet, then follow our quickstart guide to set up your first project and publish the Storybook.
Once the build is complete, you will see a confirmation message with links to your published Storybook. The MCP server is published at the same URL as your Storybook on the /mcp route. For example:
https://642d765a7e8afcfb104268dc-mhlulncyca.chromatic.com/mcp3. Enable composition
If your UI pulls components from multiple Storybooks, you can compose them into a single MCP server. For example, your app might have a local Storybook while consuming a design system from a published Storybook on a remote server.
Use composition to stitch together context from multiple Storybooks in your local MCP server. This allows agents to reference any component during UI generation.
If you don’t have a local Storybook, then check out the instructions below on how to use the MCP server without a local Storybook.
To enable composition, add a refs section to your Storybook config. We recommend using your default branch’s permalink as the ref URL. For example:
// Replace your-framework with the framework you are using, e.g., react-vite, nextjs, vue3-vite, etc.
import type { StorybookConfig } from "@storybook/your-framework";

const config: StorybookConfig = {
  framework: '@storybook/your-framework',
  stories: ["../src/**/*.stories.@(js|jsx|ts|tsx)"],
  refs: {
    // 👇 Upper-case characters not supported in the refs key
    "chromatic-published-storybook": {
      // The title of your Storybook
      title: "Design System",
      // Permalink for your main branch
      url: "https://main--<appid>.chromatic.com",
    },
  },
};

export default config;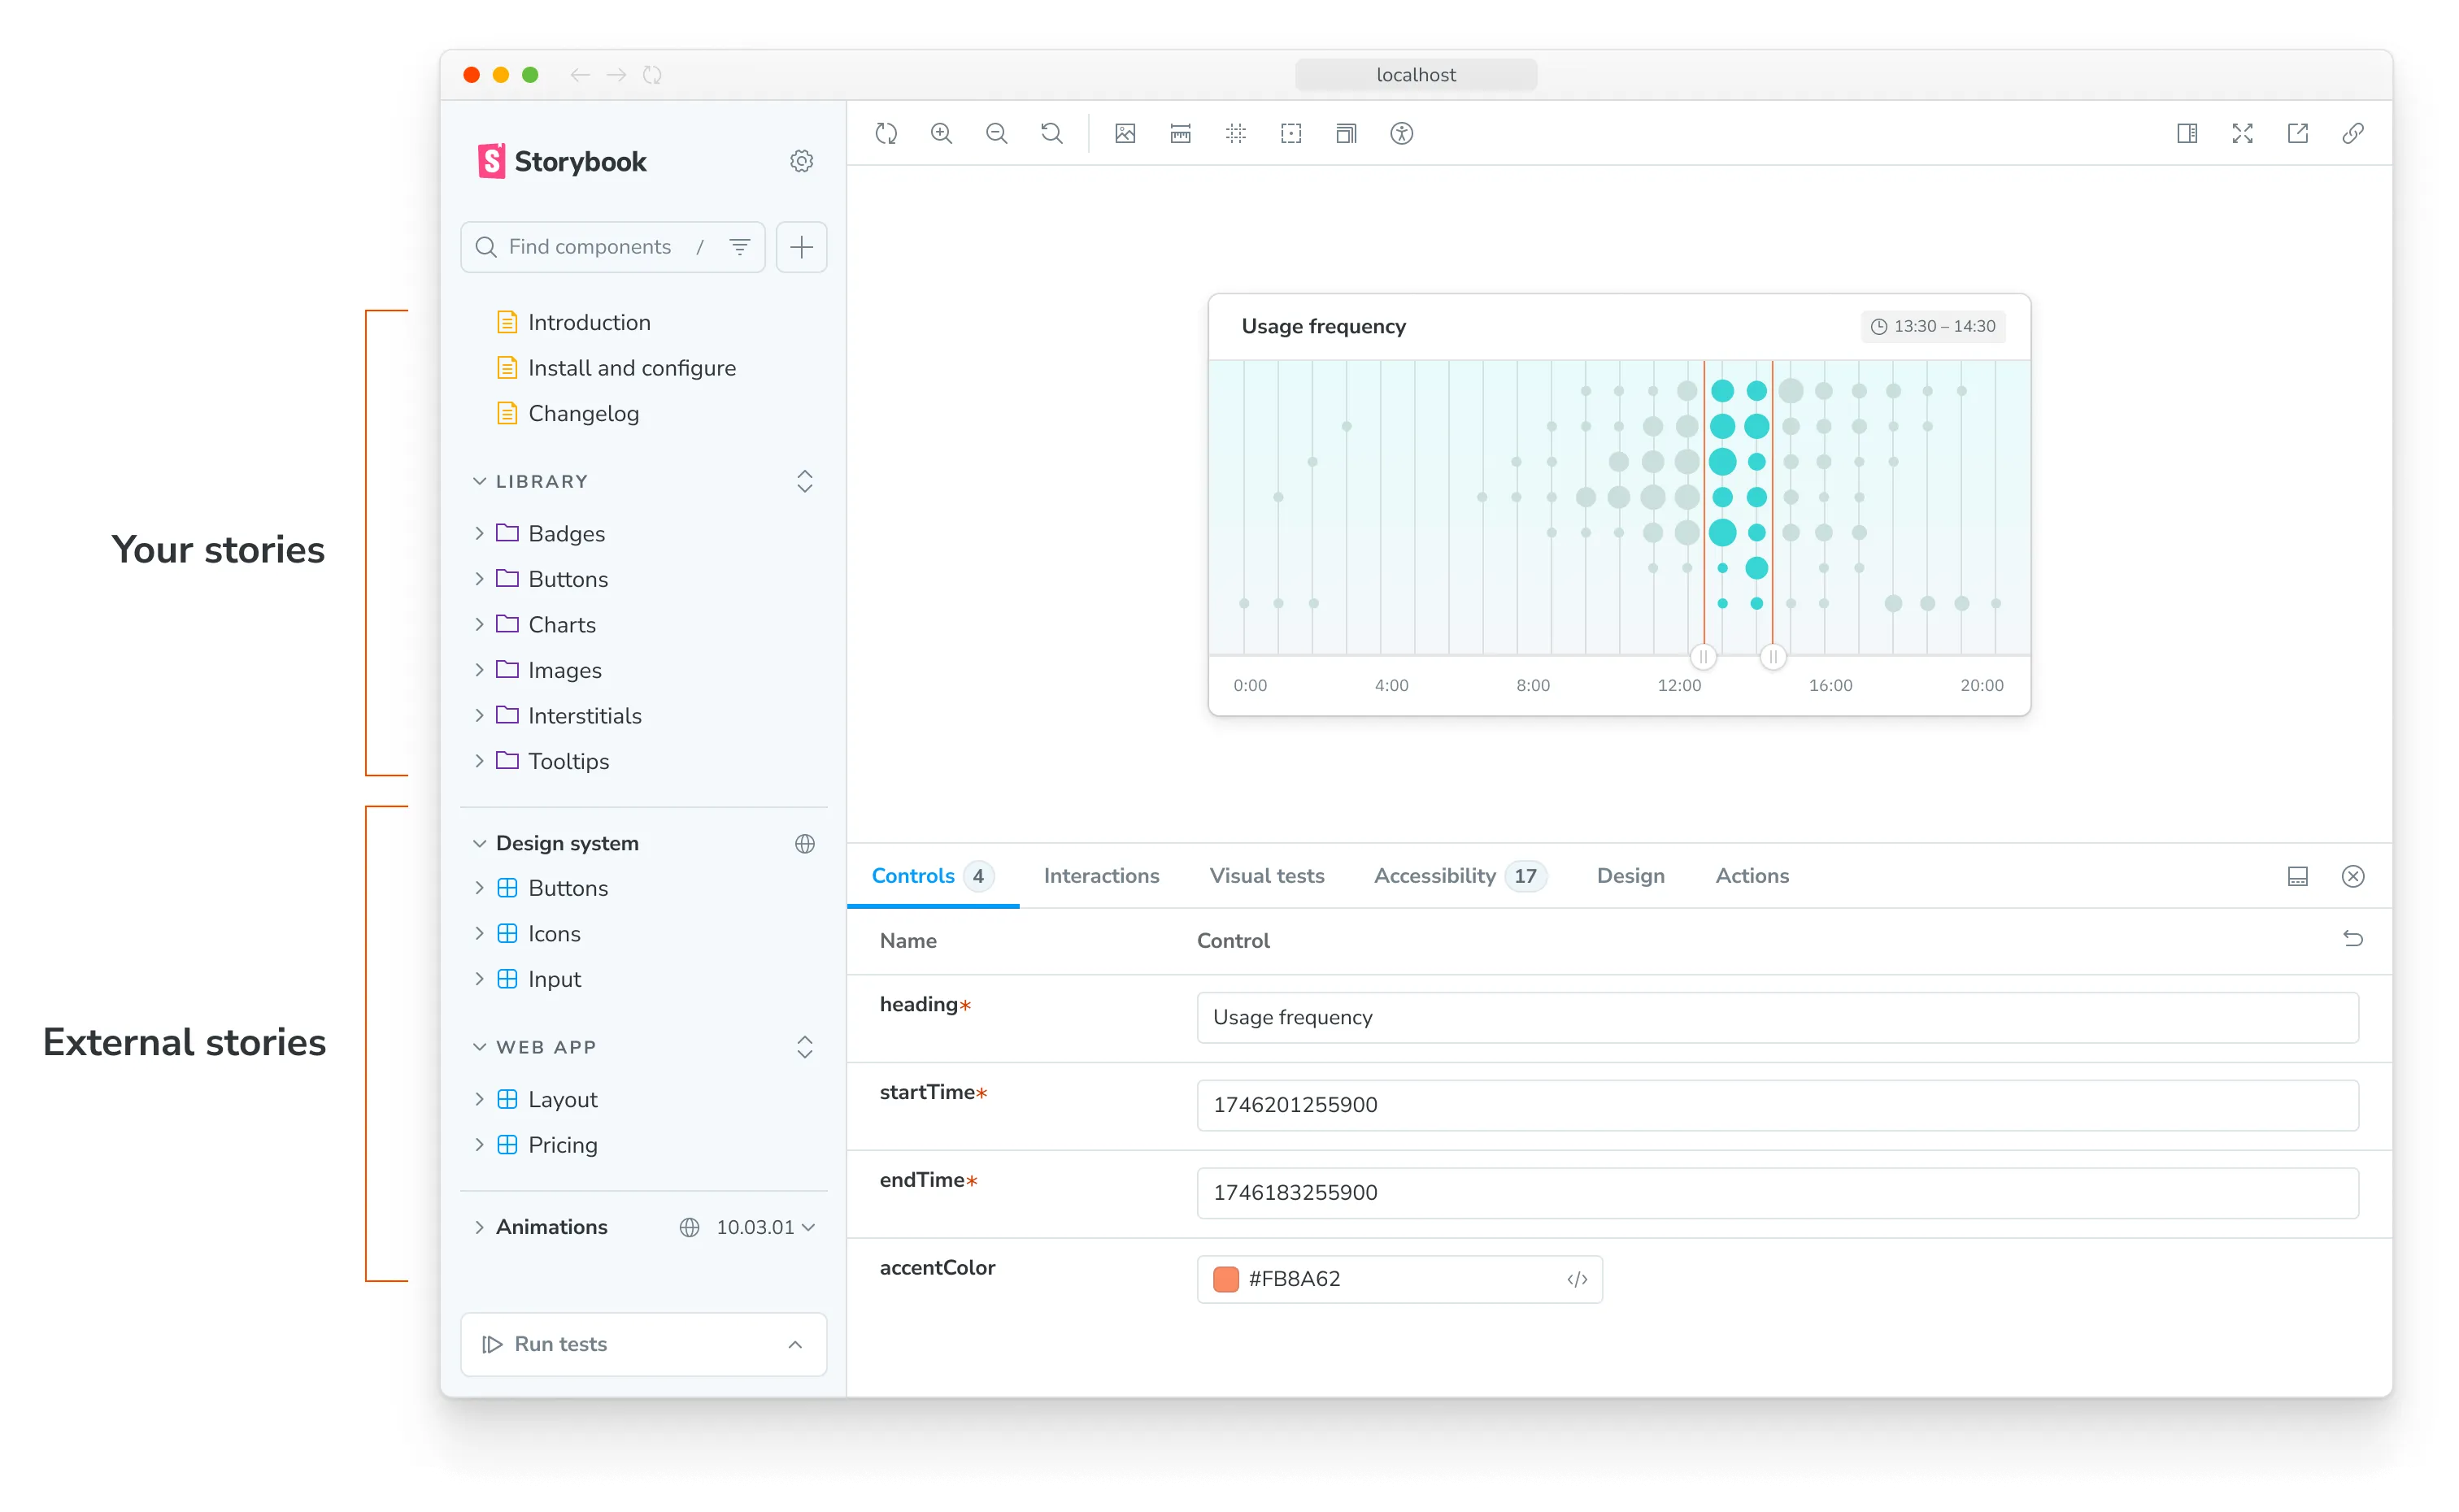
4. Install the MCP server in your coding agent
Run the following command to configure the local MCP server for your coding agent. We only need to connect to the local MCP server because the remote Storybook is composed into the local Storybook.
npx mcp-add --type http --url "https://localhost:6006/mcp" --client-id "cdf3737dff9d485485968e50b63fd8b4" --scope projectWhile you can install the MCP server manually in your coding agent, using the mcp-add CLI tool simplifies the process by automating the installation across multiple agents.
Enable authentication
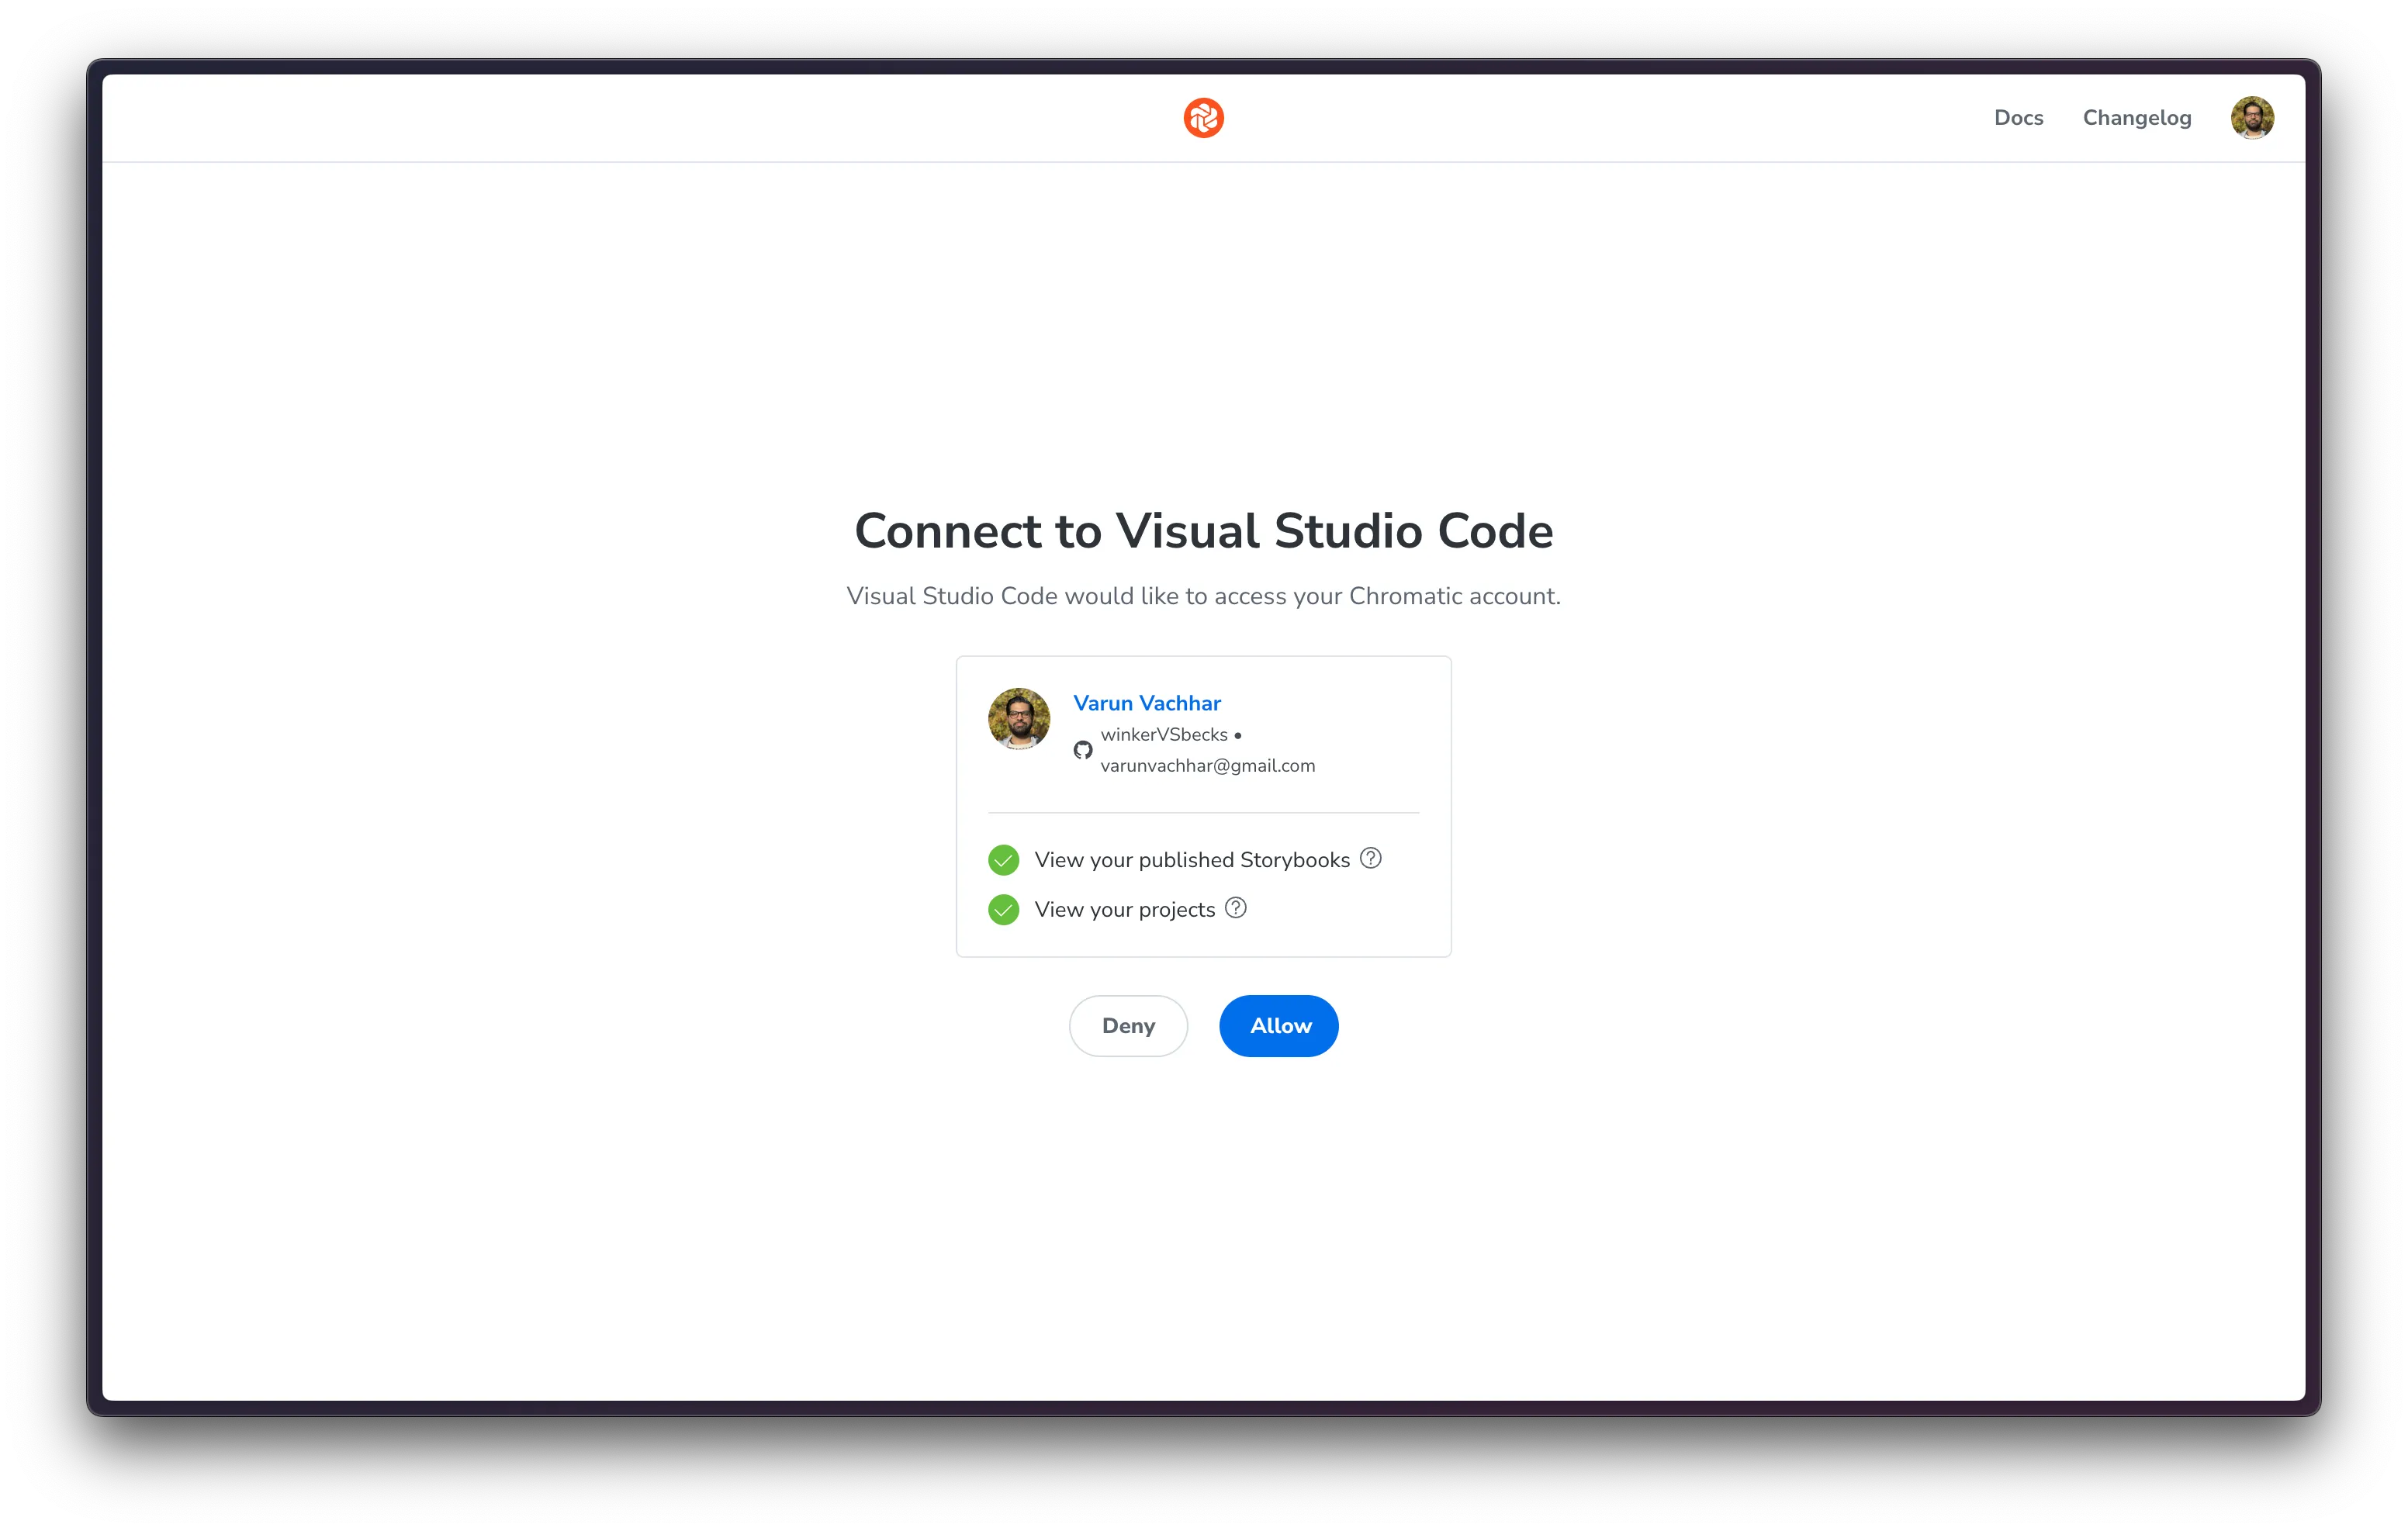
For private Storybooks, your coding agent must authenticate with Chromatic to access the MCP server. Chromatic uses CIMD to authenticate with tools that support it, such as VSCode and Copilot. For other coding agents, like Claude Code and Cursor, it uses a static client ID: cdf3737dff9d485485968e50b63fd8b4.
The mcp-add command above was already configured with the required client ID for authentication. The first time your agent connects to the MCP server, you’ll be prompted to sign in with Chromatic. Follow the instructions in the authentication flow to grant access.
5. Run a prompt to test your MCP server
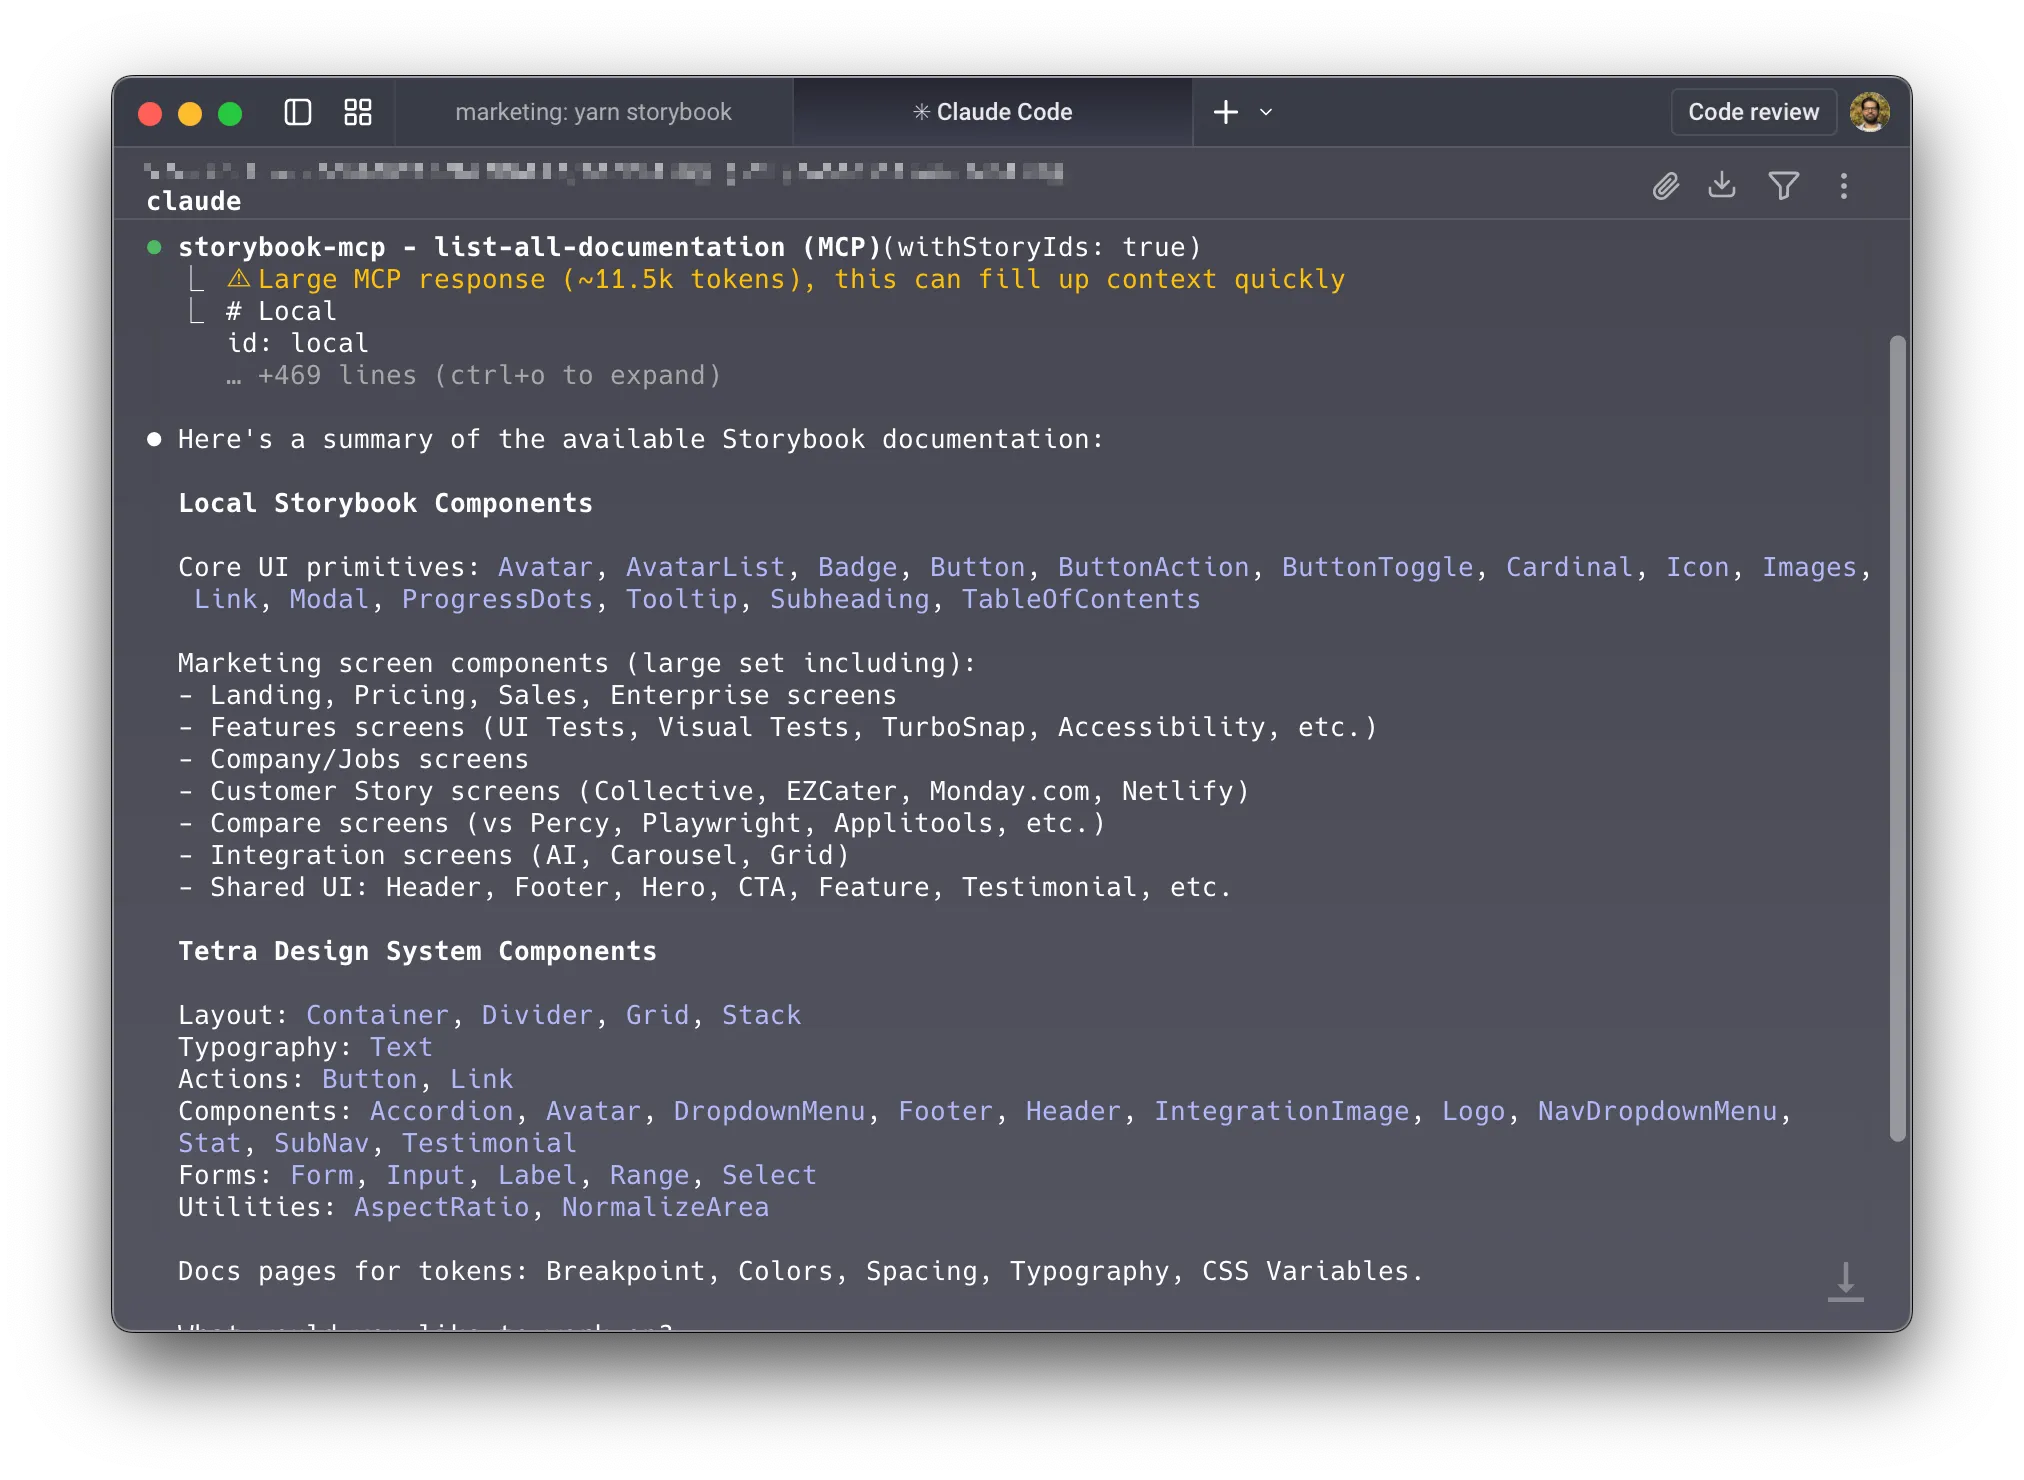
You’re all set! Let’s test it out. Start by explicitly asking the agent to run list-all-documentation on the MCP server. It should return a list of all components in your project (both local and those in the composed Storybooks).
You should see the agent using the tools provided by your Storybook MCP server to find all the components.
Use the MCP server without a local Storybook
If you don’t have a local Storybook, you can connect your agent directly to the published MCP server. We recommend using your default branch’s permalink as the MCP server URL to ensure it stays up to date with your latest changes. For example: https://main--<appid>.chromatic.com/mcp
Connect your coding agent to the MCP server by running the following command, then following the authentication flow and test prompt described in step 5 above.
npx mcp-add --type http --client-id "cdf3737dff9d485485968e50b63fd8b4" --scope projectFrequently asked questions
How do I disable MCP publishing?
Set the componentsManifest feature flag in your Storybook config to false to disable the MCP feature.
// Replace your-framework with the framework you are using (e.g., react-vite, nextjs)
import type { StorybookConfig } from '@storybook/your-framework';

const config: StorybookConfig = {
  // other config such as:
  // stories: [] etc.
  // ...
  features: {
    componentsManifest: false,
  },
};
export default config;
Are all tools available in the published MCP server?
Only the Docs tools are available in the published MCP server. The Development tools and Testing tools are only available when running the MCP server locally with Storybook’s dev server.
How do I exclude a component from the manifest?
The manifest provides a lot of context for the agent; however, this context is not free. It consumes tokens, and excessive or misleading context can degrade performance.
To exclude a component or story from the manifest, use the !manifest tag.
// Replace your-framework with the framework you are using (e.g., react-vite, nextjs)
import type { StorybookConfig } from '@storybook/your-framework';

const config: StorybookConfig = {
  component: MyNoisyComponent,
  tags: ['!manifest'],
};
export default config;
I see “invalid_redirect_uri” or “redirect_uri not registered” when connecting
There are two separate causes, and they need different fixes.
Your agent picked a random local port. Some agents authenticate using a client metadata document as the client ID. Those agents choose an ephemeral loopback port at runtime — http://localhost:52947/callback, with a different port each time.
Chromatic’s authorization requires the redirect URI to match exactly. A port that changes between attempts won’t match.
Your configuration uses the wrong key format. Every agent expects the OAuth client ID under a different key, so copying a working config from one tool to another reliably fails. See the next entry.
The most reliable fix for both is to let the mcp-add CLI write the configuration for you, rather than editing it by hand:
npx mcp-add --type http --url "https://<BRANCH>--<APP-ID>.chromatic.com/mcp" --client-id "cdf3737dff9d485485968e50b63fd8b4" --scope projectAfter changing any MCP configuration, start a new agent session — most agents only read it at startup.
I hit error ‘does not support dynamic client registration’ when authenticating
This error typically occurs when you’re trying to connect Chromatic MCP to a tool that does not support
dynamic client registration. The alternative is using the bearer token:
{
  "mcpServers": {
    "your-chromatic-storybook-mcp": {
      "type": "http",
      "url": "https://<BRANCH>--<APP-ID>.chromatic.com/mcp",
      "headers": {
        "Authorization": "Bearer YOUR_TOKEN_STRING_HERE"
      }
    }
  }
}- Find the
tokenin the Application tab of the Developers Tools under chromatic.com cookies. Use thetoken, not theasset_token. - This method is only recommended for tools that don’t support OAuth 2.0 with dynamic client registration. For other tools, always prefer using the
mcp-addCLI with the--client-idparameter, as it handles authentication more securely.
Where does the OAuth client ID go in my agent’s config?
Each agent expects a different key. Use the one for your tool:
| Agent | Expected key | Example |
|---|---|---|
| Claude Code | oauth.clientId (camelCase) | { "oauth": { "clientId": "your-client-id" } } |
| Cursor | auth.client_id (snake_case) | { "auth": { "client_id": "your-client-id" } } |
| Codex | auth.CLIENT_ID (uppercase) | { "auth": { "CLIENT_ID": "your-client-id" } } |
Both the outer key (oauth vs auth) and the inner key’s casing matter. A complete entry for Claude Code looks like this:
{
  "mcpServers": {
    "your-chromatic-storybook-mcp": {
      "type": "http",
      "url": "https://<BRANCH>--<APP-ID>.chromatic.com/mcp",
      "oauth": {
        "clientId": "cdf3737dff9d485485968e50b63fd8b4"
      }
    }
  }
}
Which config file does my agent read?
Editing the wrong file is a common cause of “my changes had no effect.”
| Agent | Per-repository | Global |
|---|---|---|
| Claude Code | .mcp.json | ~/.claude.json |
| Claude Desktop | Not supported | claude_desktop_config.json |
| Cursor | .cursor/mcp.json | ~/.cursor/mcp.json |
| Cline (VS Code) | .vscode/cline_mcp_settings.json | cline_mcp_settings.json |
| Continue | .continue/mcpServers/mcp.json | ~/.continue/config.json |
| Zed | Configured through settings UI | ~/.config/zed/settings.json |
To confirm the server itself is reachable before debugging your config, open the MCP URL in a browser: https://<BRANCH>--<APP-ID>.chromatic.com/mcp.
Do SSO users need to authenticate individually?
Yes. Each SSO user must authenticate individually to connect their coding agent to the MCP server.
Authentication tokens are scoped per user session, so team members cannot share a single authenticated connection or bypass the login flow. When connecting for the first time, each team member will be prompted to complete the Chromatic SSO authentication flow in their browser.